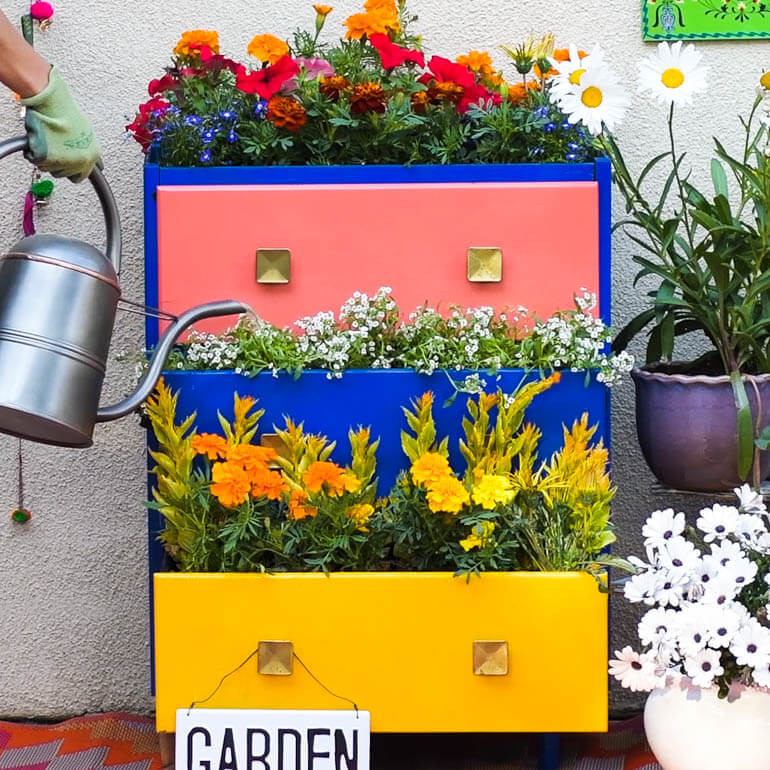
We chair-ished our time working on these awesome re-purposed furniture ideas, thanks to our partnership with letgo! Download the app and learn more at: bit.ly/letgoxblossom-FB
Looking to start a DIY project this weekend? Check out each project down below for a list of materials you’ll need and step-by-step instructions to help you along the way!
DIY Wine Rack
Looking to entertain on your patio? Transform that old dresser into a wine rack!

Materials:
- old dresser
- Spray paint (color of your choice!)
- plywood
- wood screws
- power drill
- wood glue
- wine glass (for measuring)
- rotary saw
- mounted bottle opener (optional)
Instructions:
1. Remove all drawers and interior hardware (ex: sliders) from the dresser.
2. Paint the entire dresser.
3. Allow the paint to dry.
4. Cut a plywood board to the dimensions of your dresser.
5. Paint the board the same color as the dresser.

6. Lay the dresser on its back and slide in the board where you’d want the height of the shelf to be.
7. Using a power drill, pre-drill a hole on the side of the dresser where the board is.
8. Drill in your screws, securing the shelf in place.
9. Repeat steps 4-8 for the next shelf.
10. Put the dresser aside for now.
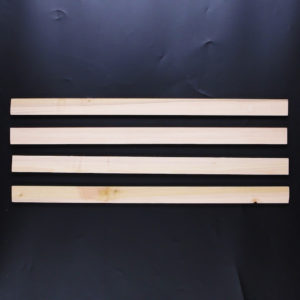
11. Layout 4 wood planks horizontally that are 1 inch shorter of than the length of the inside of the dresser. Each plank should be about 2 inches apart from each other. Before gluing, test with setting the base of a wine glass over two planks. A majority of the base should rest over each plank. If it’s too short, bring your planks closer together and vice versa.
12. Add a dot of wood glue to each end of your 4 planks.
13. Take two more wood planks and vertically lay them over each end of your horizontal planks.
14. Allow the glue to dry.
15. Take a wine glass and set the base in the middle of two horizontal planks.
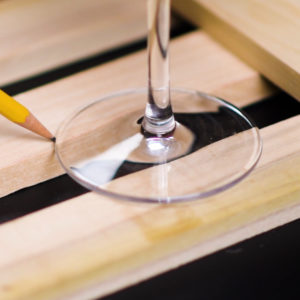
16. Using a pencil, trace the base of the wine glass, drawing a half circle on each plank.
17. Repeat steps 15-16 on the other two planks.
18. Using a saw (a rotary saw works best), cut out each drawn circle. This is your DIY wine rack.

19. Paint the wine rack to match the rest of the dresser.
20. Add a line of wood glue down each vertical plank of the rack.
21. Press the rack to the bottom of the top shelf and allow to dry.
Drawer Shelves
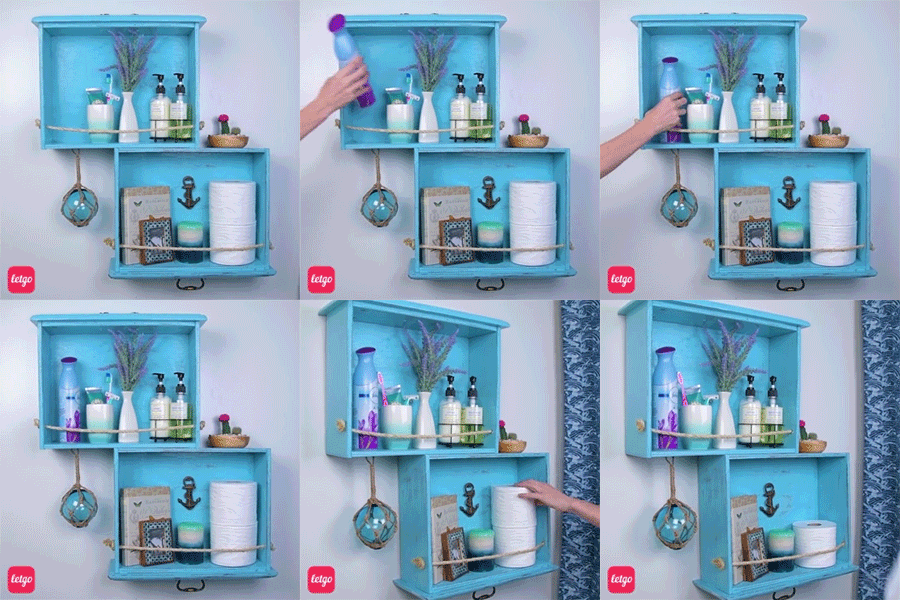
Ditching that old dresser? Think twice about keeping the drawers and turn them into personalized shelves!
Materials:
- old drawers
- primer
- paint brush
- paint (color of your choice)
- sandpaper
- power drill
- rope
Instructions:
1. Remove the hardware from your drawer.
2. Add a coat of primer to the drawer.
3. Allow the primer to dry before adding a coat of paint.
4. Optional: you can reinstall the hardware or leave it off the drawer.
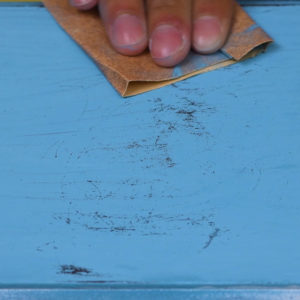
5. Optional: if you want a more “distressed/vintage” look for your dresser, take a piece of sandpaper and sand down the inside and outside of the drawer.
6. Take a power drill with a large drill bit and drill a hole on each side of the drawer close to the front.
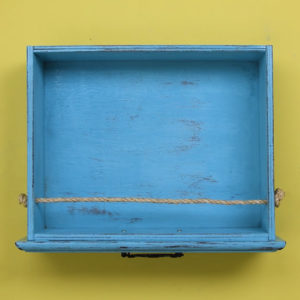
7. Thread some rope through each hole and tie a knot at each end.
8. Repeat steps 1-7 for however many shelves you want.
9. Hang each drawer shelf on your wall.
Dresser Garden
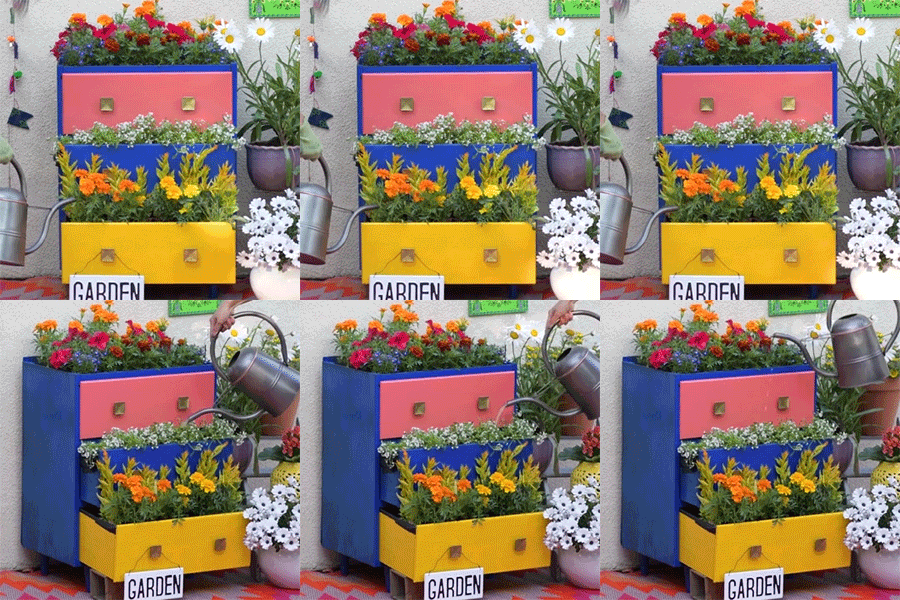
Tired of boring terra cotta planters? Give your flowers a beautiful and colorful new home with this dresser garden transformation!
Materials:
- garbage bag
- staple gun
- power drill
- soil
- trowel
- flowers
- gaff tape
Instructions:
1. Optional: repaint an old dresser.
2. Remove the lid of the dresser.
3. Unfold a large garbage bag and lay it over the top drawer.
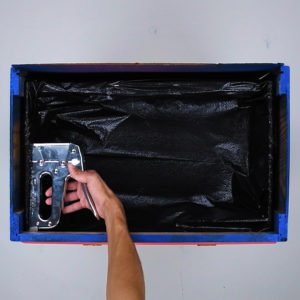
4. Using a staple gun, staple every few inches around the entire drawer.
5. Use gaff tape to secure any loose edges of the garbage bag.
6. Using a power drill, drill through 9 holes through the bottom of the drawer. These will act as the drains for the water.
7. Fill the drawer with soil.
8. Create 6 wells in the soil with a gardening shovel.
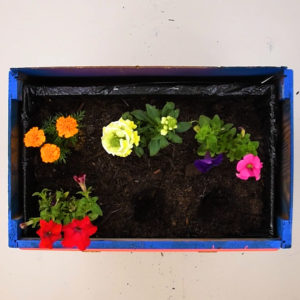
9. Place flowers of your choice in each well.
10. Repeat steps 3-9 for however many drawers you have.
Dresser Side Table
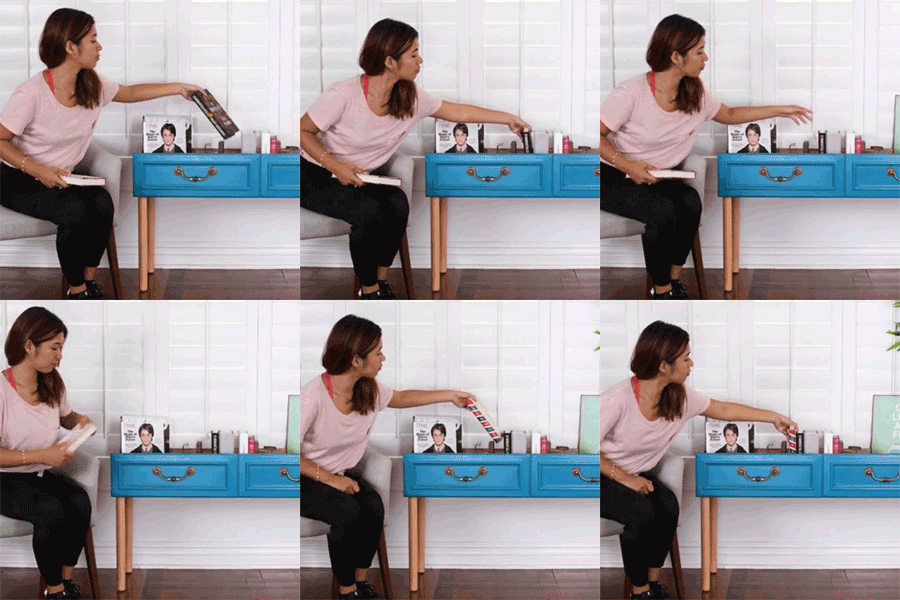
Need a tiny bookcase? No problem! Glue two dresser drawers together, give them some legs to stand on, and you’ve got the perfect side table for all your books you need to keep on hand!
Materials:
- two dresser drawers
- screwdriver
- spray paint
- wood glue
- clamps
- power drill
- 1/2″x 24″ wooden dowels
- dowel screws
Instructions:
1. Remove the hardware from each drawer with a screwdriver.
2. Give the drawers a fresh coat of paint.
3. Add a good amount of wood glue to one side of one of the drawers.
4. Bring the two drawers together.
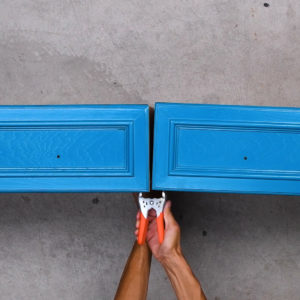
5. Use a clamp to hold the drawers together while the wood glue dries.
6. Once the glue is dry, flip the table over so you’re looking at the bottom.
7. With a power drill, pre-drill 4 holes into each corner of the table.
8. In the 4 wooden dowels, drill in each screw.
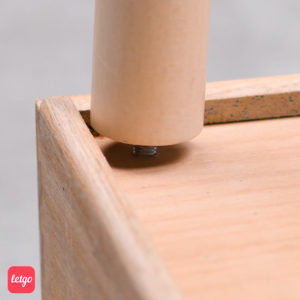
9. Screw the dowels into each of the pre-drilled holes in the table.
10. Reinstall the hardware on the drawers.
Scratch Masker
Give that old piece a second life and mask those annoying scratches with a few swipes of a walnut!

Materials:
- walnuts
Instructions:
- Rub a walnut over every scratch.
- Wipe off the excess.


